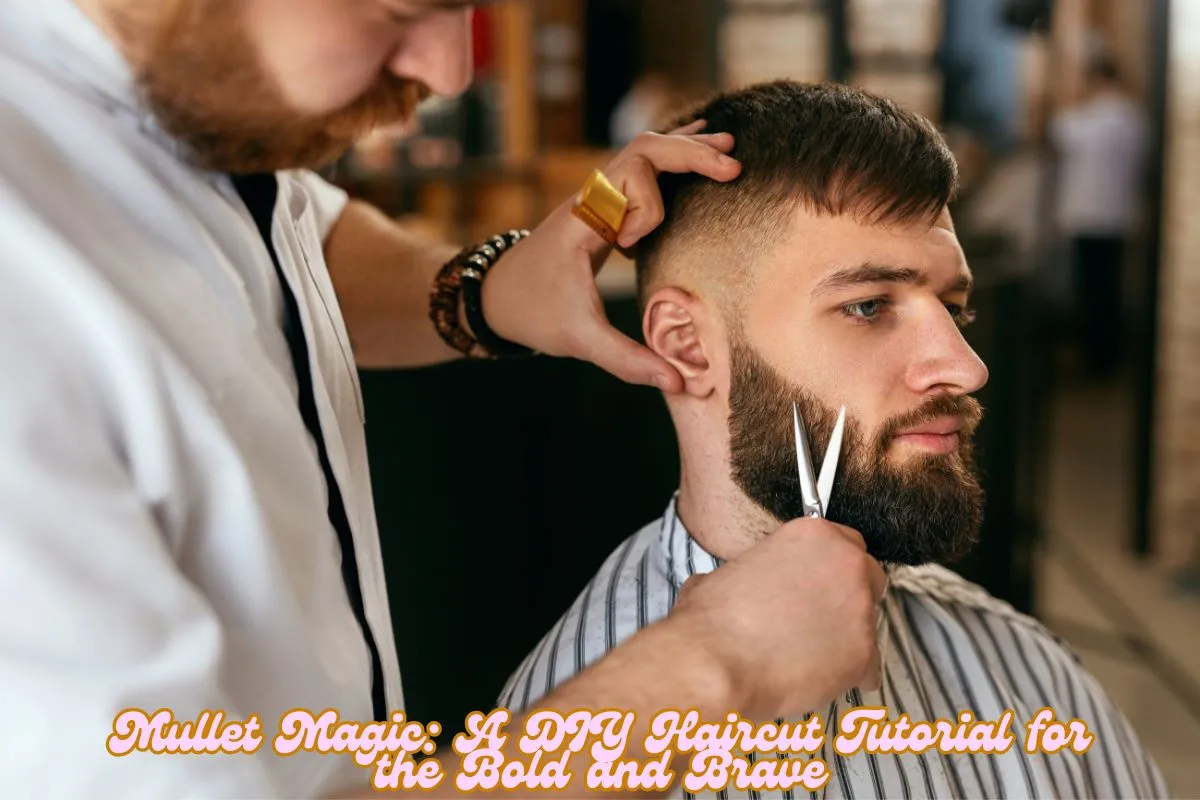
The mullet – a hairstyle that has sparked debate for decades – is back in a big way! This iconic cut, with its short front and long back, is no longer confined to the 80s rock scene. Celebrities and fashionistas alike are rocking modern versions of the mullet, making it a trendy and unique choice. But before you head to the salon, have you considered a DIY mullet haircut?
Is DIY Mullet Magic Right for You?
Cutting your own mullet can be a fun and empowering experience, but it’s not for everyone. Here’s what to consider:
- Hair Cutting Confidence: If you’re comfortable holding scissors and have some basic hair cutting skills, then you can try a DIY mullet. However, if the idea makes you nervous, a professional stylist might be a safer bet (think Brad Mondo’s advice! [2]).
- Hair Type: Straight hair might be easier to work with for a mullet, but wavy or textured hair can rock the look too! Just be prepared for some extra styling effort.
- Mullet Inspiration: Research different mullet styles online and find one that speaks to you. Leandra Medine is right; there’s no single “correct” mullet [5].
Gather Your Mullet Magic Tools:
- Sharp Scissors: Invest in a good pair of sharp hairdressing scissors. Dull scissors can cause split ends and uneven cuts.
- Comb: A fine-tooth comb will help you section your hair and achieve a clean cut.
- Hair Clips: Clips will help you section your hair off for easier cutting.
- Optional: Hair Clippers: While not essential, hair clippers can be helpful for creating a clean line in the back of the mullet, as suggested by Jackie Aina, the beauty guru [4].
- Mirror: You’ll need a good mirror (or two!) to see the back of your head as you cut.
Let’s Get Cutting!
Now for the fun part – the actual haircut! Here’s a step-by-step guide:
- Prep Your Hair: Start with clean, dry hair. Brushing helps remove any tangles and ensures an even cut.
- Sectioning is Key: Divide your hair into sections for easier cutting. You can start by creating a center part or a side part, whichever you prefer.
- The Business in the Front: Decide how short you want the front section of your mullet to be. You can go for a short, buzz-cut style, a layered look, or something in between. Use your scissors to carefully trim the front section, working from the bottom up. Remember, John Frieda emphasizes using sharp scissors and combing for even sections [3].
- The Party in the Back: Now comes the defining feature of the mullet: the longer back section. Decide on the length you want – shoulder-length, mid-back, or even longer. Use your comb to guide your scissors as you carefully cut a straight line across the back, creating a distinct contrast with the shorter front.
- Refine and Blend: Take a step back and assess your work in the mirror. You may need to go back and refine some areas or blend the two sections for a more seamless transition. Use caution when venturing into territory with your clippers, as hairstylists often warn against DIY disasters [6]!
Mullet Magic Aftercare:
- Regular Trims: Maintaining the mullet shape requires regular trims, especially as the front grows.
- Styling Products: Texturizing sprays, mousses, or pomades can help add volume and definition to your mullet.
- Embrace the Uniqueness: The beauty of the mullet is its individuality. Don’t be afraid to experiment with different styling techniques to find what works best for you.
A Word of Caution:
While DIY can be empowering, remember, that cutting your hair can be tricky. Hairstylists are trained professionals and can help you achieve the perfect mullet for your face shape and hair type. If you’re unsure about your DIY skills or have complex hair, consider consulting a stylist for a flawless mullet cut.
Rock Your Mullet with Confidence!
The mullet is a bold and expressive hairstyle. If you’re ready to embrace a unique look and unleash your inner rockstar, give the DIY mullet a try! Just remember, practice makes perfect, and even a slight mishap can add to the mullet’s rebellious charm. So, grab your scissors, channel your inner stylist, and join the Mullet Mania!


