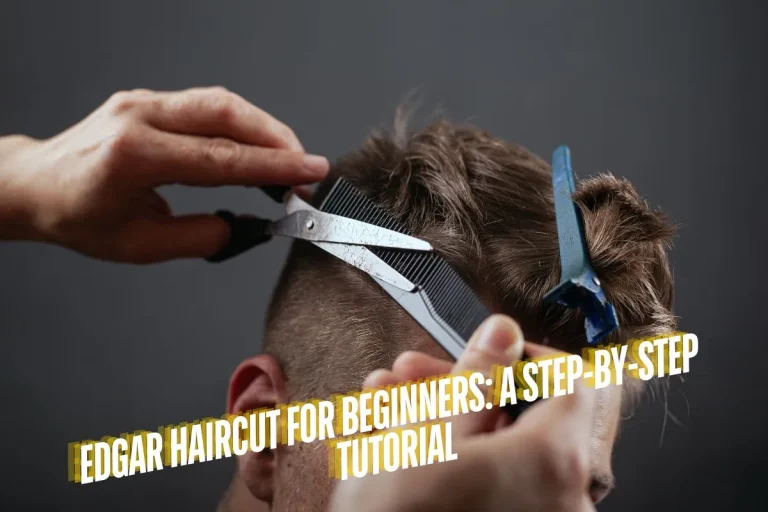
The skill of fading hair is both an art and a science, requiring precision, technique, and a keen eye for detail. Whether you’re a professional barber or someone looking to master the craft at home, understanding the intricacies of fading hair is essential for achieving that perfect, seamless look. In this comprehensive guide, we delve into the step-by-step process of fading hair, with a particular focus on the invaluable resource: the How to Fade Hair Diagram.
Understanding the Basics of Fading Hair
Before delving into the specifics of using a hair fading diagram, it’s crucial to grasp the fundamental concepts of fading hair. Fading involves seamlessly blending different lengths of hair to create a smooth transition from shorter to longer hair. Achieving this seamless blend requires careful attention to detail, proper tools, and a systematic approach.
Preparation: Setting the Stage for a Perfect Fade
Preparing the hair before the actual cutting process is paramount to achieving a flawless fade. This involves ensuring the hair is clean, damp, and free from tangles. By spraying the hair lightly with water and patting it dry, you create an ideal canvas for molding and cutting. Parting the hair with precision is also crucial, as it determines the symmetry and balance of the final look.
Choosing the Right Guard Size: The Foundation of a Fade
Selecting the appropriate guard size sets the stage for the entire fading process. Starting with a higher guard number, such as a #3, provides a baseline for an even shave around the sides and back of the head. As the fading progresses, switching to shorter guards gradually reduces the length of the hair, creating the desired fade effect.
Creating the Fade Line: Where Art Meets Precision
The fade line is the point at which the hair transitions from one length to another. It’s essential to determine the placement of the fade line based on personal preference and the desired style. Whether opting for a single fade line or multiple lines, precision and attention to detail are key to achieving a seamless transition.
Executing the Fade: A Step-by-Step Process
With the hair properly prepared and the fade line established, it’s time to execute the fade. This involves a systematic approach of shaving the hair with clippers, starting from the bottom and gradually moving upward. Angling the clippers and using a steady hand are crucial for achieving a smooth transition and avoiding visible fade lines.
Fine-Tuning the Fade: Perfecting Every Detail
Once the initial fade is complete, it’s time for the fine-tuning stage. This involves switching guards to continue fading the hair, cleaning up any uneven spots, and using the clippers-over-comb method to blend the fade line seamlessly. Attention to detail and patience are essential during this stage to achieve a polished, professional look.
Completing the Look: Final Touches and Styling
With the fade perfected, attention turns to completing the overall look. This may involve trimming the top of the hair with scissors or clippers, shaving the bottom of the hair for a distinct endpoint, and cleaning up the base of the neck for a polished finish. Styling the hair with pomade or gel adds the final touches, enhancing the overall aesthetic.
Utilizing the How to Fade Hair Diagram: A Valuable Resource
Throughout the fading process, referring to the How to Fade Hair Diagram can provide invaluable guidance and visual representation. This comprehensive diagram outlines each step of the fading process, from preparation to execution, making it an indispensable tool for both beginners and experienced barbers alike.
Unveiling the Basics
Before delving into the intricacies of fading hair, it’s crucial to understand the fundamental principles. Fading involves seamlessly transitioning hair lengths, typically from longer to shorter, creating a gradient effect. The process encompasses selecting appropriate guard sizes, determining fade lines, and executing precise cuts.
Step-by-Step Guide
- Preparation: Begin by dampening the hair, ensuring it’s not overly wet. This facilitates easy manipulation and cutting. Section off the hair according to the desired style.
- Guard Selection: Choose a higher guard size, such as a #3, to establish the initial length. Subsequently, transition to shorter guards as you progress downwards for a seamless fade.
- Fade Line Placement: Determine the desired fade lines, which dictate the transition points between hair lengths. These lines can vary in placement and curvature based on personal preference.
- Top Sectioning: Separate the top portion of the hair from the sides and back using a comb. This ensures clear distinction and facilitates focused cutting.
- Vertical Shaving: Employ vertical motions with the clippers, moving upwards from the sideburns towards the head. Exercise caution to avoid cutting the top section of hair.
- Horizontal Blending: Utilize sideways movements with the clippers, maintaining a vertical orientation, to blend the fade lines seamlessly. Angle the clippers to achieve a natural transition between lengths.
- Precision and Patience: Approach each section with care, moving in small increments to ensure uniformity. Address uneven spots promptly and adjust as necessary.
- Guard Transition: Gradually switch to shorter guards while continuing the fading process. Maintain consistency and precision in each step to achieve a cohesive fade.
- Finishing Touches: Refine the fade lines using the clippers-over-comb method, ensuring a smooth transition. Pay attention to details and make any necessary adjustments for a polished look.
- Top Hair Styling: Finally, attend to the top section of hair, either with scissors for longer styles or clippers for a buzzed look. Tailor the cutting technique to the desired hairstyle, ensuring symmetry and balance.
Perfecting the Outcome
- Neck and Sideburn Trimming: Use a beard trimmer or unguarded clippers to shave the bottom of the hair, establishing a distinct endpoint. Blur out any visible lines for a seamless finish.
- Blade Maintenance: Regularly clean and oil your clippers to maintain their performance and longevity. Proper upkeep ensures optimal cutting results and prevents blade dullness.
- Final Touches: Complete the haircut by cleaning up the base of the neck and refining any remaining imperfections. Apply styling products as desired for a polished and professional appearance.
Conclusion: Mastering the Art of Fading Hair
Fading hair is a skill that requires practice, patience, and attention to detail. By understanding the fundamentals of fading and utilizing resources such as the How to Fade Hair Diagram, anyone can achieve professional-quality results. Whether you’re a seasoned barber or someone embarking on their fading journey, mastering the art of fading hair opens up a world of creative possibilities and ensures that every client leaves with a perfectly tailored look.
In conclusion, mastering the art of fading hair is a journey that requires dedication and a willingness to learn. With the right techniques, tools, and resources, anyone can achieve a flawless fade and unlock their full potential as a barber or hairstylist.