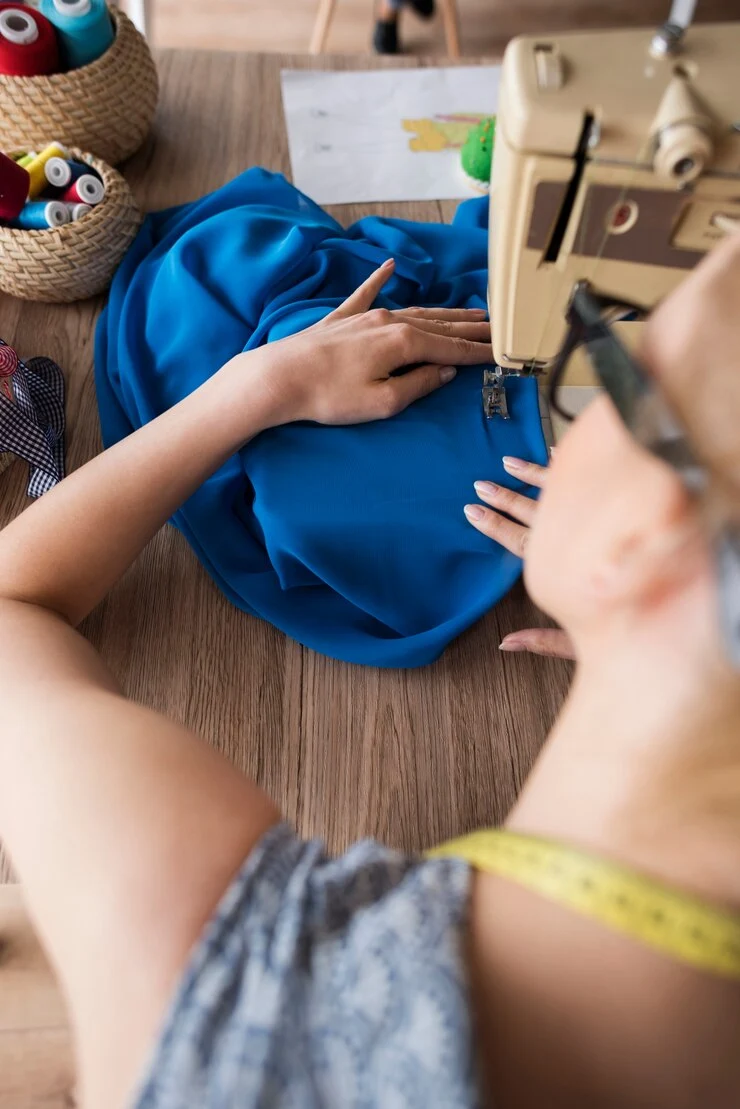
Sewing your own clothes is a fantastic way to express your creativity and ensure a perfect fit. Among the various sewing projects, adding cap sleeves to a garment is both rewarding and manageable, even for beginners. Cap sleeves are short sleeves that sit on the shoulder without extending far down the arm, adding a touch of elegance and charm to any outfit. Let’s dive into the step-by-step process of sewing cap sleeves, complete with expert insights to make your sewing journey enjoyable and memorable.
Table of Contents
ToggleMaterials Needed
Before we start, gather the following materials:
- Fabric of your choice
- Sewing machine
- Thread matching your fabric
- Pins
- Scissors
- Measuring tape
- Pattern paper
- Tailor’s chalk or fabric marker
- Iron
Step-by-Step Guide
1. Prepare Your Pattern
Creating a pattern is the first step in sewing cap sleeves. You can find free cap sleeve patterns online on various sewing blogs and websites. Simply search for “sewing cap sleeves tutorial” or “free cap sleeve pattern.” If you’re using a sewing book or textbook, you might find a more detailed pattern with variations and troubleshooting tips.
2. Cutting the Fabric
Once you have your pattern, lay it on your fabric and trace it using tailor’s chalk or a fabric marker. Carefully cut the fabric, ensuring you have two identical pieces for the sleeves. Remember to leave a small seam allowance (usually about 1/4 inch) around the edges.
3. Sewing the Cap Sleeves
Pin the edges of the cap sleeves to the armhole of your garment, right sides together. Make sure to align the center of the sleeve with the shoulder seam. Sew along the pinned edge, using a straight stitch on your sewing machine. Take your time to ensure the stitches are even and secure.
Expert Tip: Elsa Schiaparelli once said, “Dressmaking is not a craft for the fainthearted. It requires a strong imagination, a keen eye for detail, and the patience of a saint.” This is particularly true when attaching sleeves, as precision is key.
4. Finishing Touches
After attaching the sleeves, finish the raw edges with a zigzag stitch or an overlock stitch to prevent fraying. Press the seams with an iron to make them lie flat. This step gives your garment a professional look and makes the sleeves sit nicely on the shoulders.
Expert Insight: Vivienne Westwood’s advice, “Buy less, choose well, make it last,” resonates here. Taking the extra time to finish your seams properly ensures your garment will be durable and well-made.
5. Adding Personal Touches
Now that your cap sleeves are attached, consider adding some personal touches. This could be anything from decorative stitching to adding lace or trim. Fashion designer Yohji Yamamoto once said, “Fashion is about innovation, it is about change; it is about movement.” Use this as inspiration to experiment and make your creation unique.
6. Embracing Modern Trends
While cap sleeves are a classic, you can incorporate modern trends into your design. Alexander McQueen believed, “Fashion is a reflection of the times, and it should be.” Look for current fashion trends and see how you can integrate them into your cap sleeve project. This could be through fabric choice, colors, or additional design elements.
7. Exploring Variations
Don’t be afraid to explore different variations of cap sleeves. Rei Kawakubo stated, “I don’t believe in trends. Fashion is about demolition, not evolution.” This empowers you to break away from traditional styles and create something truly unique. Try experimenting with different shapes, lengths, or embellishments to see what you can come up with.
Expert Tip: Sewing blogs, online classes, and YouTube videos are excellent resources for learning new techniques and variations. Watching a tutorial can be incredibly helpful, especially if you’re a visual learner.
8. Troubleshooting Common Issues
If you encounter issues while sewing your cap sleeves, don’t get discouraged. Common problems include uneven seams, puckering fabric, or sleeves not fitting correctly. Here are some troubleshooting tips:
- Uneven seams: Make sure you’re sewing slowly and steadily. Use pins to keep the fabric in place.
- Puckering fabric: This can be caused by tension issues on your sewing machine. Check your machine’s manual for guidance on adjusting tension.
- Poor fit: Double-check your measurements and pattern. Sometimes, slight adjustments to the pattern or fabric can make a big difference.
Conclusion
Sewing cap sleeves is a delightful way to enhance your sewing skills and add a personal touch to your wardrobe. Remember, sewing is about creativity and expression. As Coco Chanel wisely said, “In order to be irreplaceable one must always be different.” Use your imagination, experiment with new ideas, and most importantly, enjoy the process.
Whether you’re following a classic pattern or innovating with new designs, cap sleeves can transform a simple garment into something special. With patience and practice, you’ll soon master the art of sewing cap sleeves and create beautiful, unique pieces that reflect your personal style.
So, gather your materials, find a cozy spot, and start sewing! The journey is just as rewarding as the finished product. Happy sewing!


